
So, I scoured Pinterest and found casa.five.one's blog. I did it very similar to her post, but did change a few things.
These were my supplies:
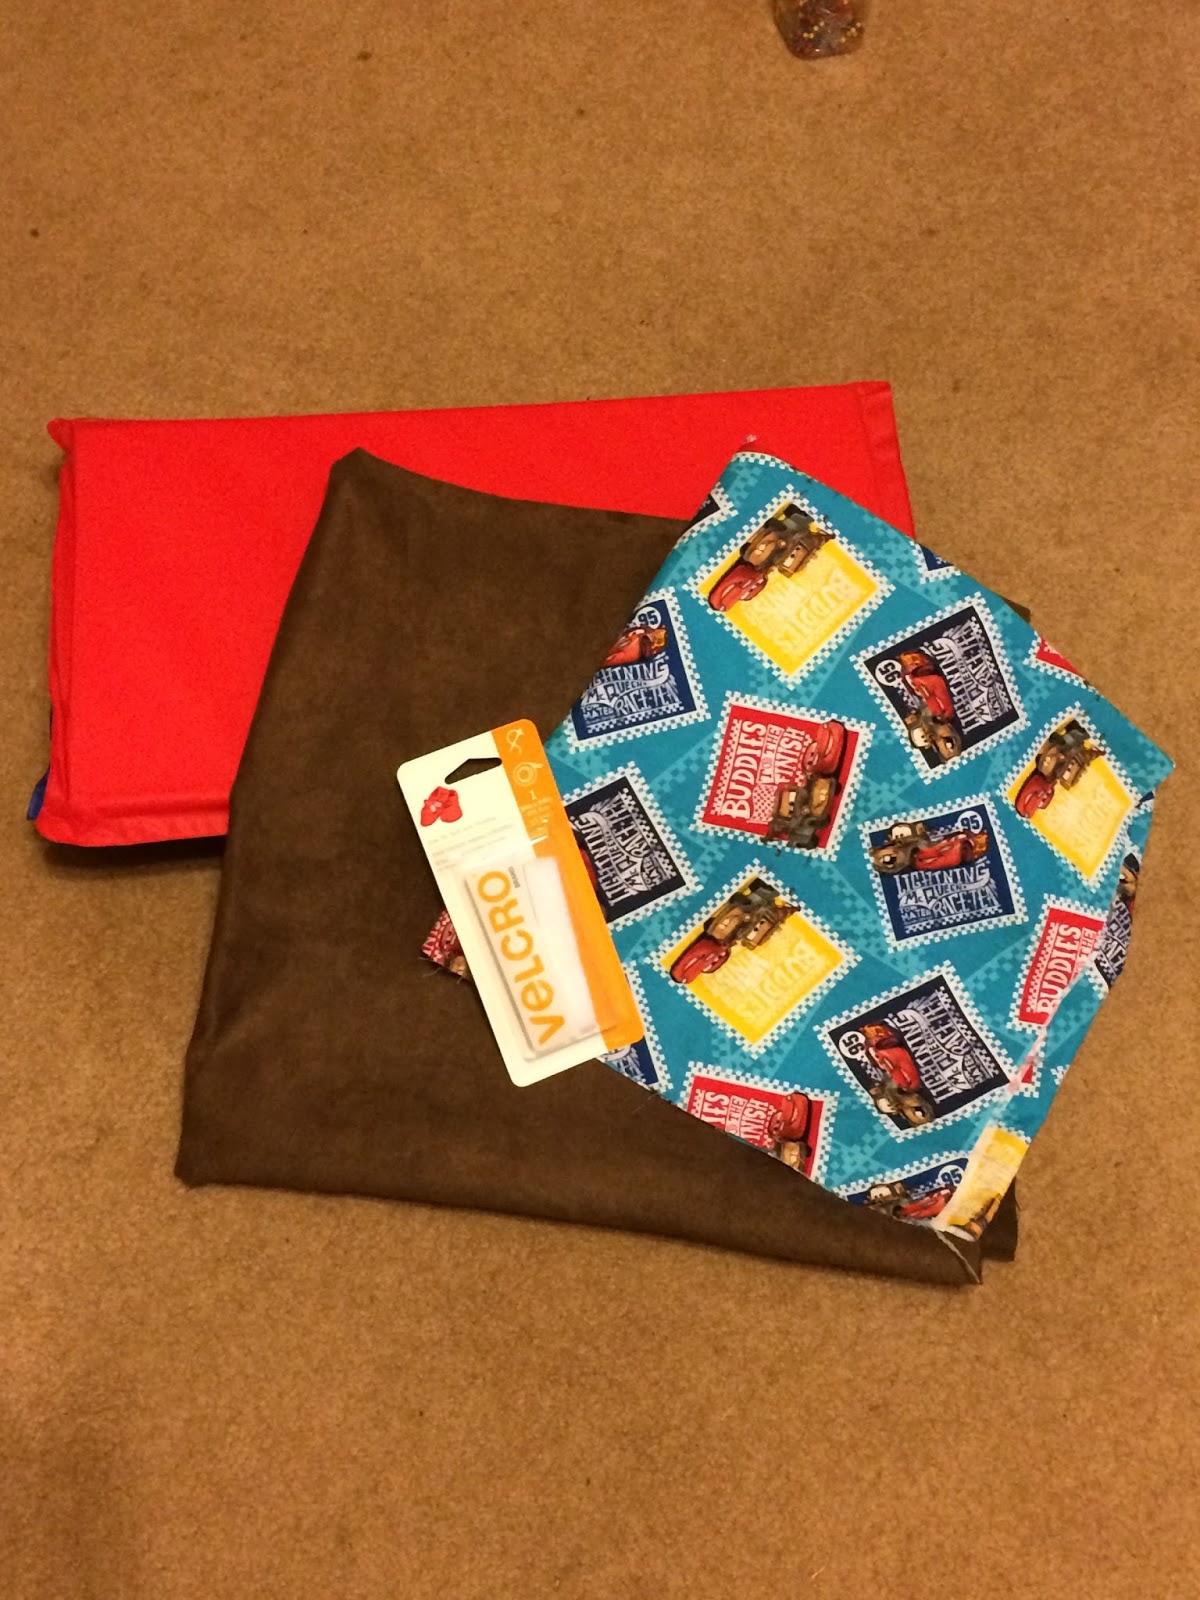 |
| Kinder Mat (got one at Wal-Mart for $10) Brown microsuede fabric (actually a remnant from camper curtain redo) Disney's Cars fabric (purchased at Wal-Mart, so I don't have a link) Sew on Velcro |
1. Lay one fabric flat on the floor and place Kinder Mat on top of it. Cut around the perimeter of the mat leaving approximately 2 inches of excess fabric all the way around.
2. Now lay that fabric on top of the other fabric, and cut it to match in size.
3. Place fabrics to where they are "inside out" or the prints are touching, if that makes sense. Sew down one long side and one of short side.
4. Place the Kinder Mat inside to where it is snug in the corner you've created with your stitches. Pin the long side and trim excess.
5. Sew the pinned long side.
6. Before you go any further, flip the fabric right side out. Make sure the Kinder Mat will fit. I wanted it pretty snug so it wouldn't bunch up. Do not trim the excess length off yet. You'll need a bit of excess to make room for the mat to fold up. So, go ahead and fold your mat and figure out how long you want the excess of the opening to be.
7. I hemmed the opening then sewed on the Velcro.
8. Voila! You're done.
Brayden has enjoyed the mat and it's been great at day care. I'm thinking of adding his initials with some iron ons, but I haven't had time for that yet.


No comments:
Post a Comment